
This page:

Replacing The Cam Belt And Water Pump On An Abarth 124 (part 1)
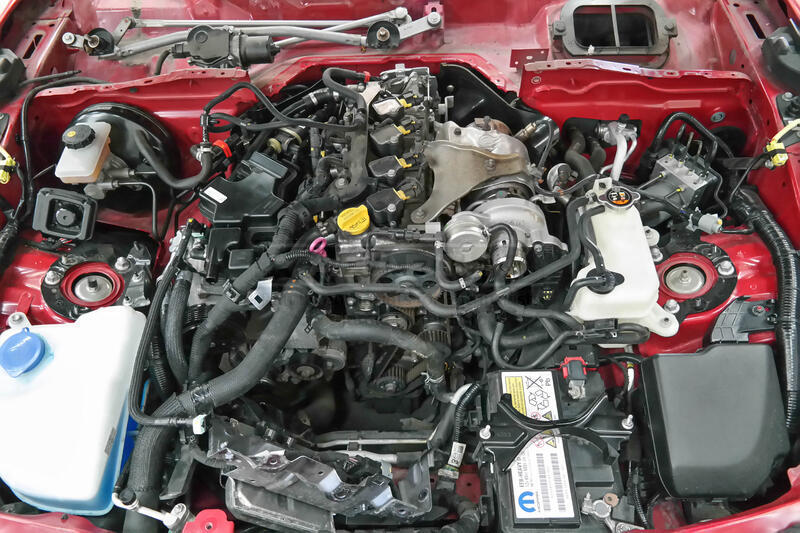
On a 124 replacing the cam belt isn't as straight forward as it is on other models with this same engine.
The air box needs removing and the ECU complete with mounting plate (due to sheer bolts being used) manoeuvred out of the way.
The scuttle needs to go to access the vacuum pump and the air compressor has be slid aside to reach a bolt head.
Cam belt kit 71736717 and water pump 55284051
Workshop time (not including water pump): 3 hours 30 mins
THIS IS A TWO PART GUIDE
If you would like to book your Abarth 124 into the workshop the price of this service is £509.40
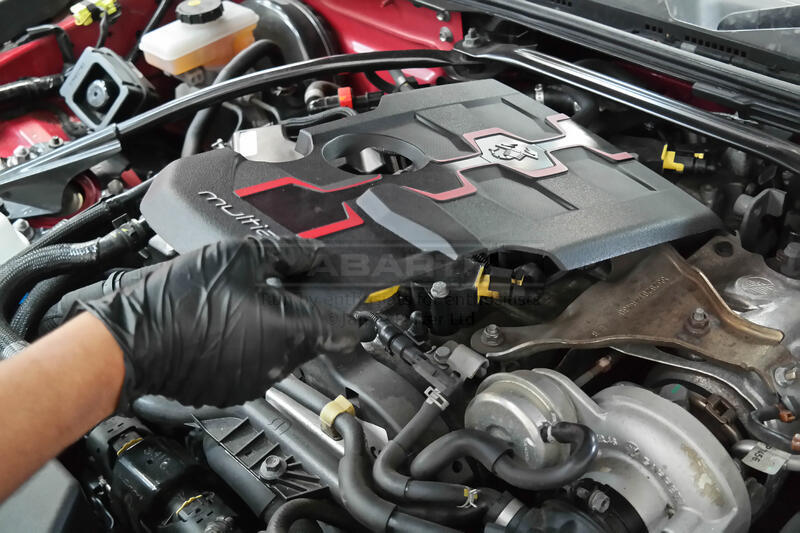 | Pull off the plastic engine cover. |
|
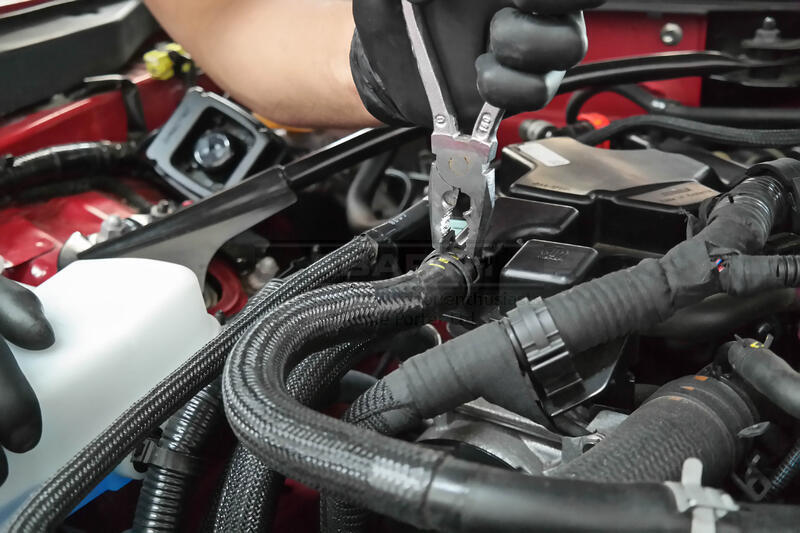
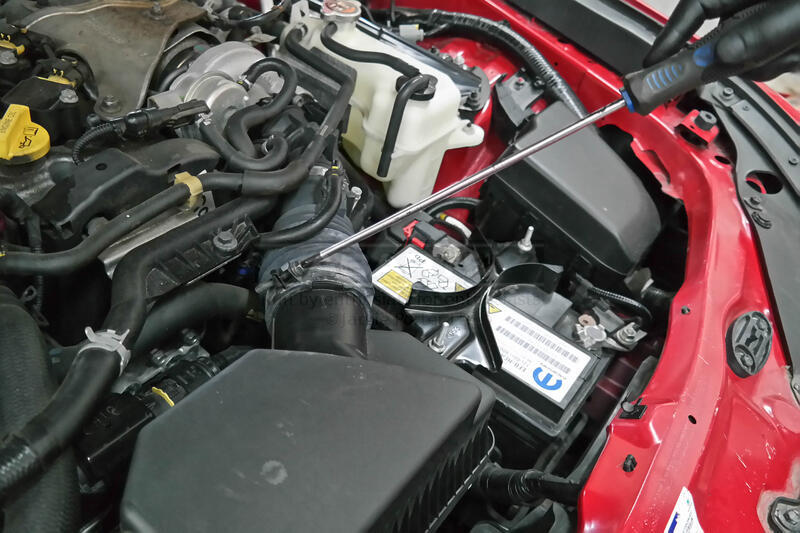 | Undo the x2 jubilee clips at either end of the turbo hose. |
|
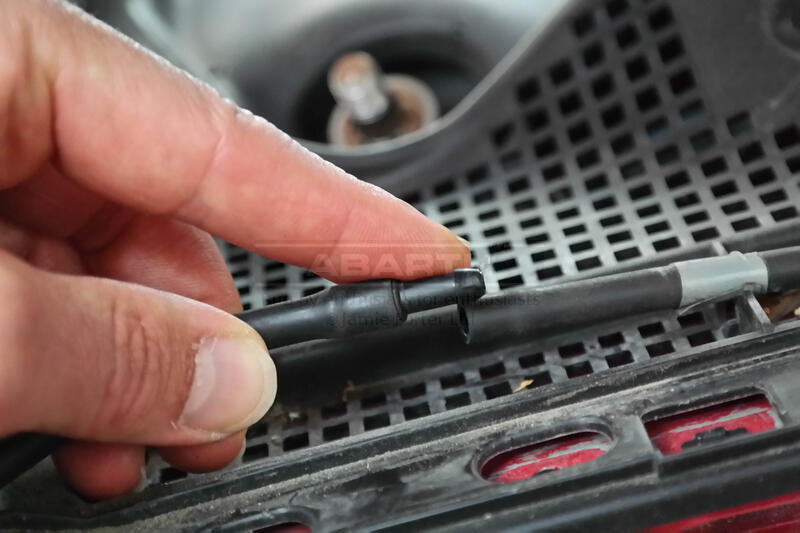
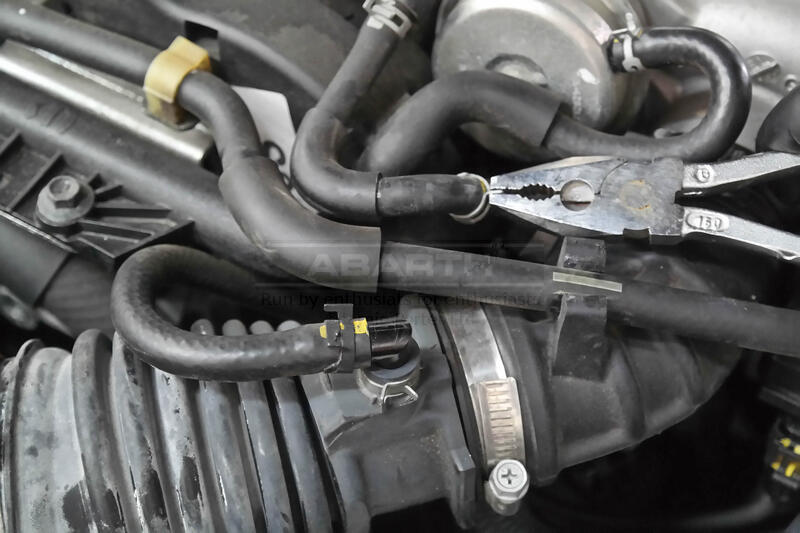 | Unclip the x2 breather hoses to the turbo hose. |
|
 | Unclip the breather hose going to the top of the oil segregator. |
|
 | Undo the 10mm retaining bolt to the segregator hose. |
|
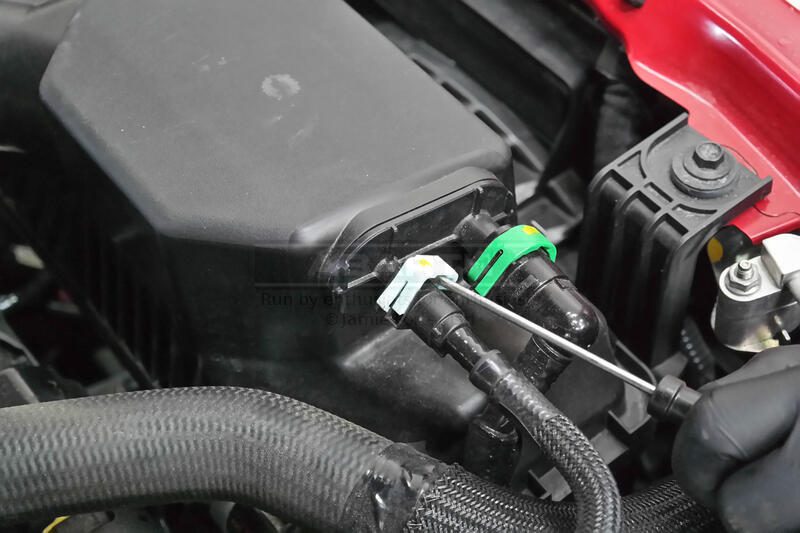 | Release the x2 clips and disconnect the breather hoses going to the top of the air box. |
|
 | If you are also changing the air filter then push down the x2 spring clips to the hinged lid of the air box and remove along with the air filter. |
|
 | Undo the 10mm bolt to the air filter housing bracket. |
|
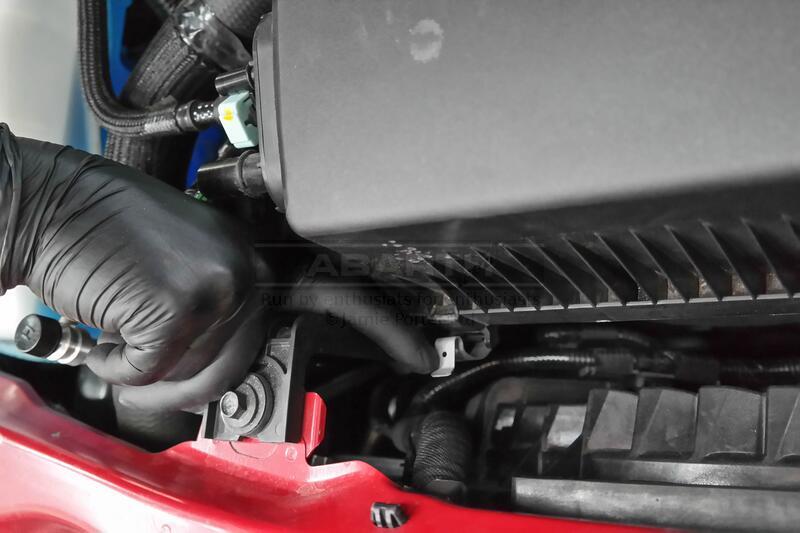
 | There's x2 grommet push fixings holding the air filter housing, pull it up from the end nearest the battery and slide it out. |
|
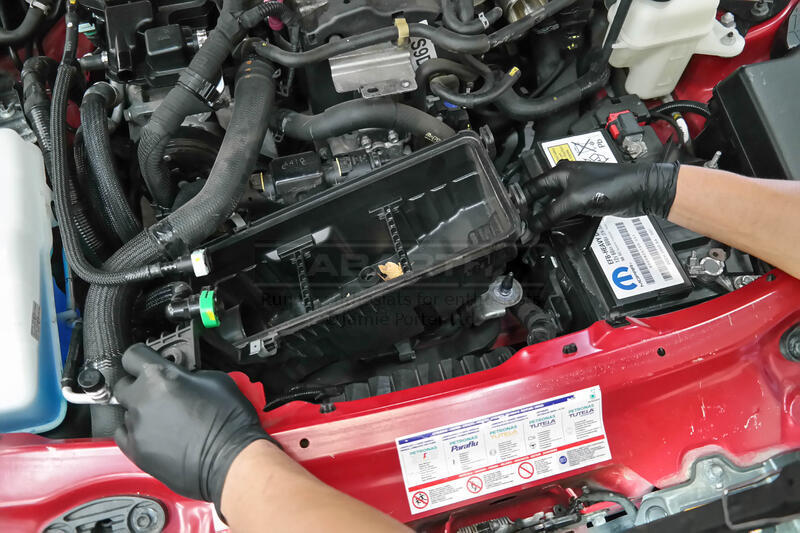
 | The ECU needs removing but it cannot be disconnected as it is clamped down using sheer bolts so the whole mounting plate has to be moved. |
|
 | There's x5 clips securing the wiring loom, pinch the underneath of the clips to pull them out. |
|
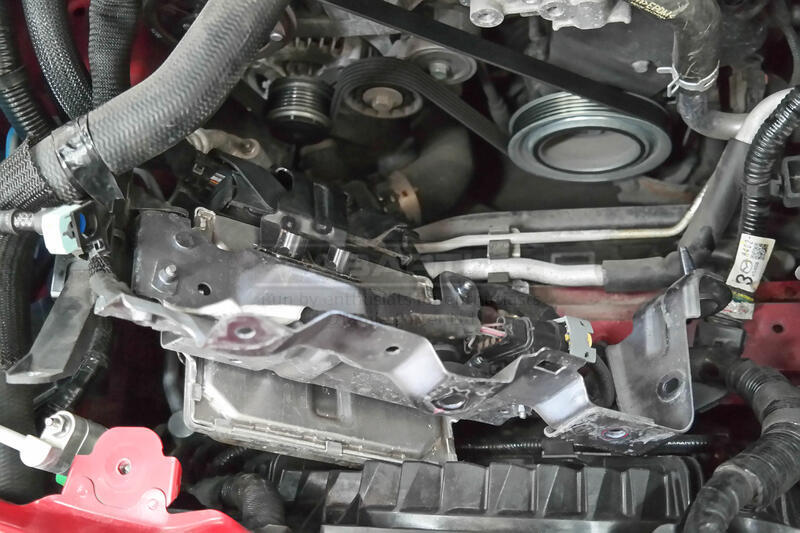 | Now most of the wiring loom is loose you can lay the ECU flat and slide it up to the left. |
|
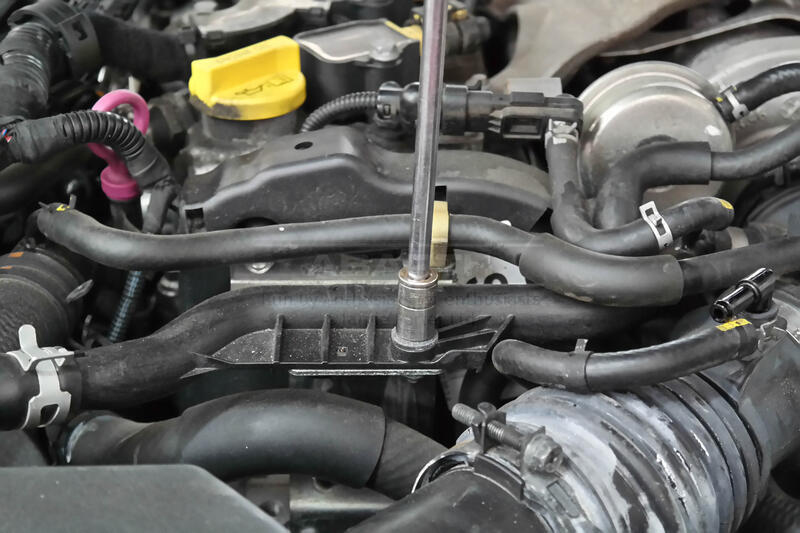
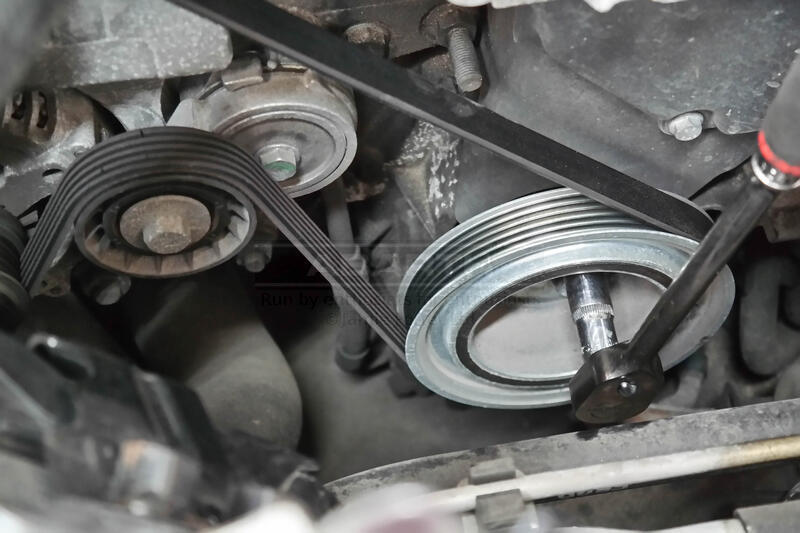 | Loosen the x3 13mm bolts to the bottom pulley. |
|
 | To remove the auxiliary belt release the tension by placing a 15mm spanner on the bolt head of the plastic pulley to the auxiliary belt tensioner and rotate anti clockwise. |
|
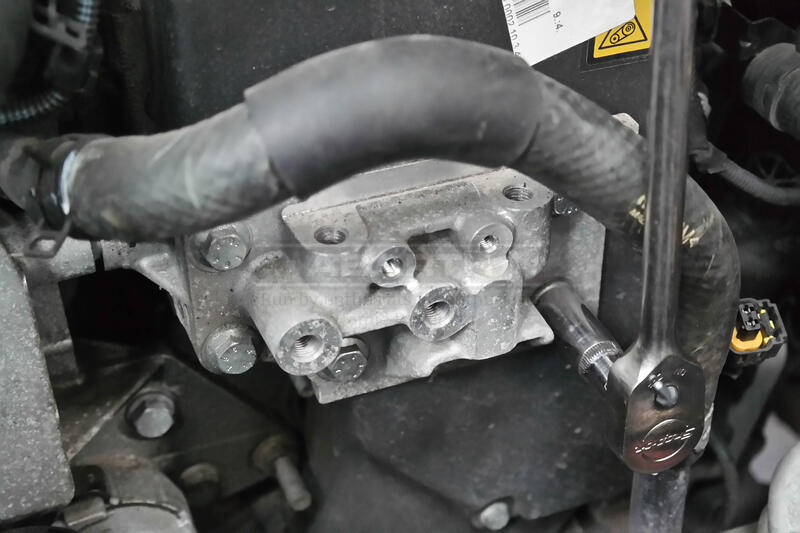
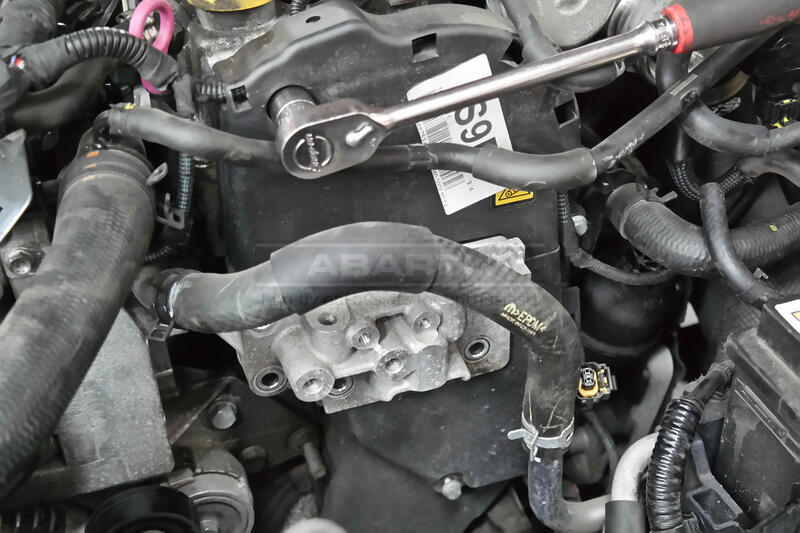
 | Remove the bracket that supported the plastic breather pipe by unclipping the coolant return hose then undoing the x3 10mm bolts. |
|
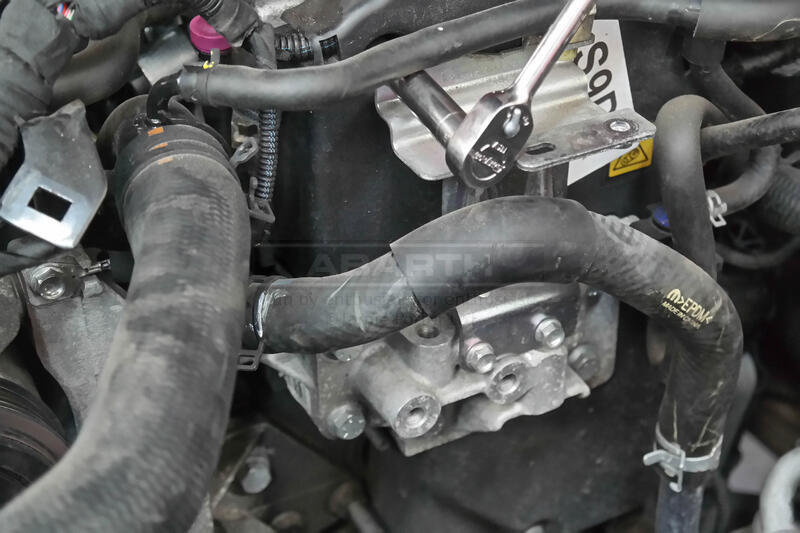
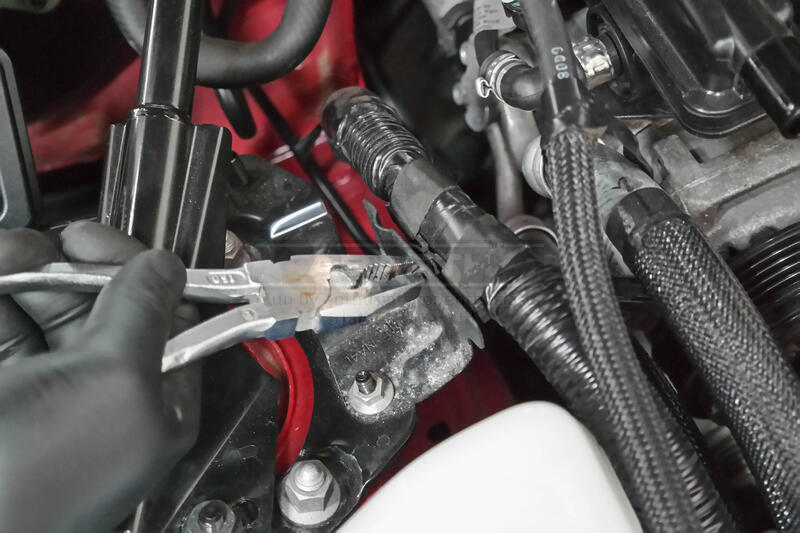
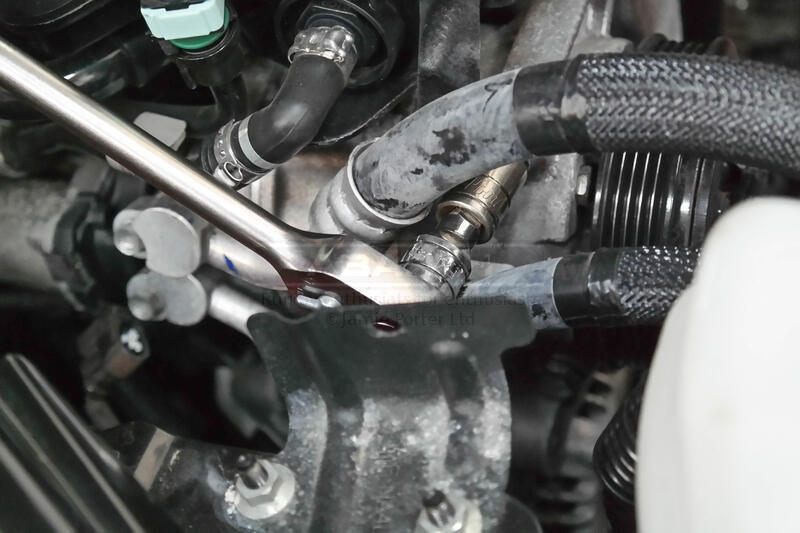
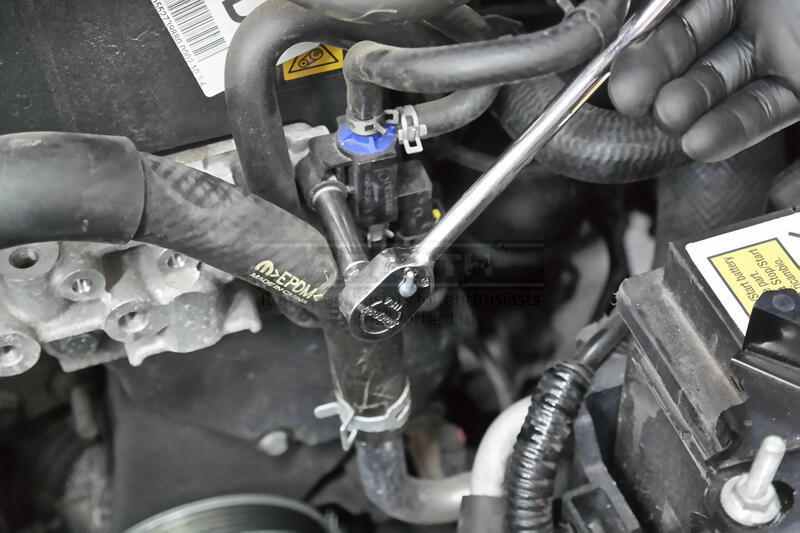 | Undo the 8mm bolt to the boost pressure sensor, unplug the connector at the bottom then move the sensor and hoses to the side. |
|
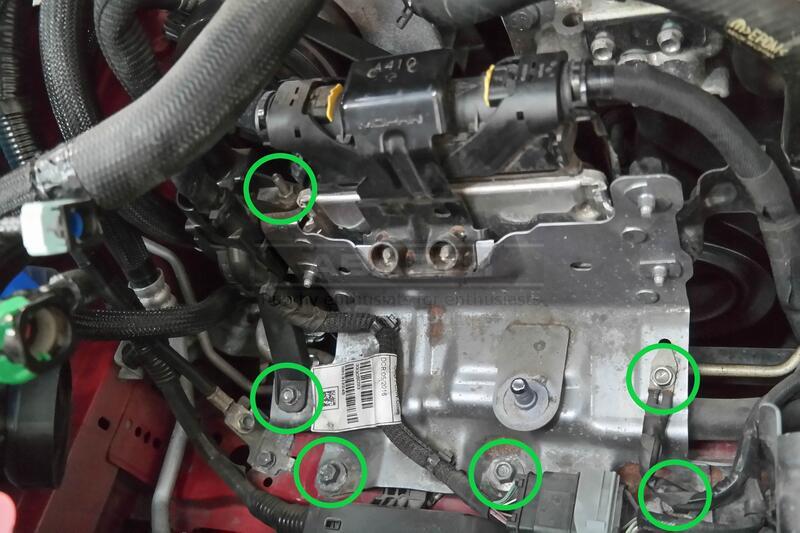
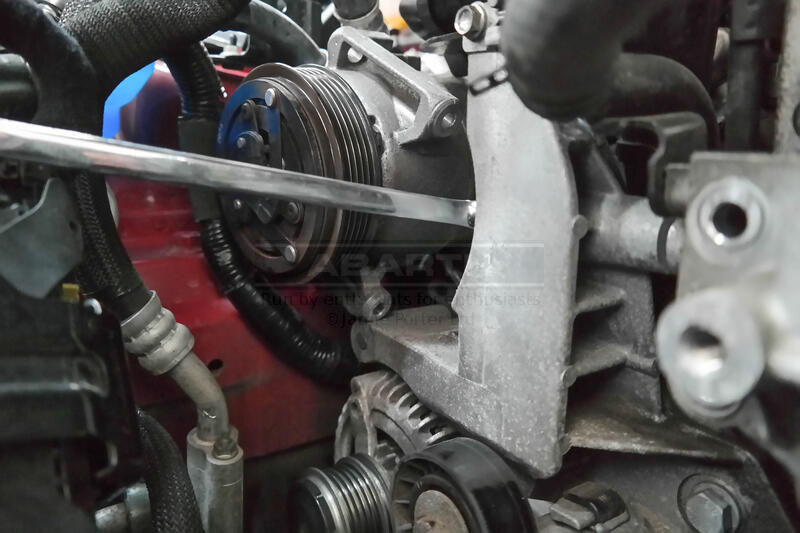
 | The alloy mount on the side of the engine has x5 13mm bolts to undo (there's a sixth 13mm bolt hidden behind the air compressor which will be removed later on). |
|
 | Look to the left of the mount, at the top is a smaller 10mm bolt. |
|
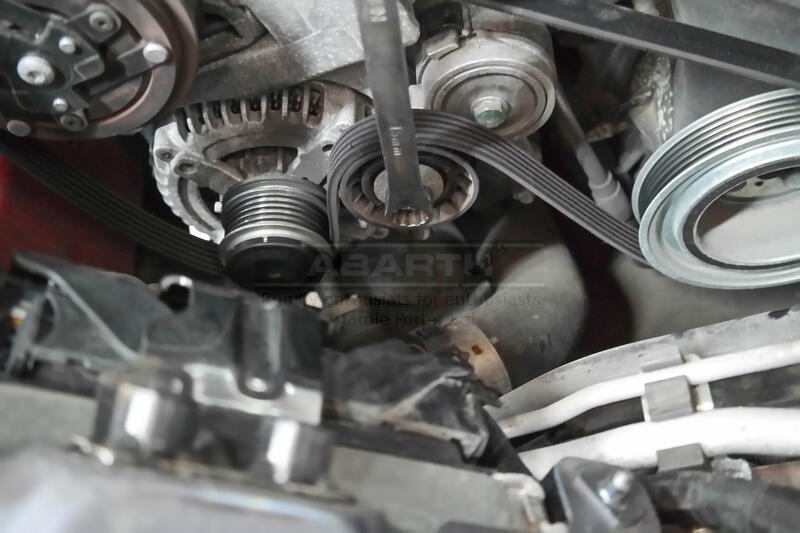
 | Fully undo the x3 13mm bolts to the bottom pulley and remove pulley. |
|
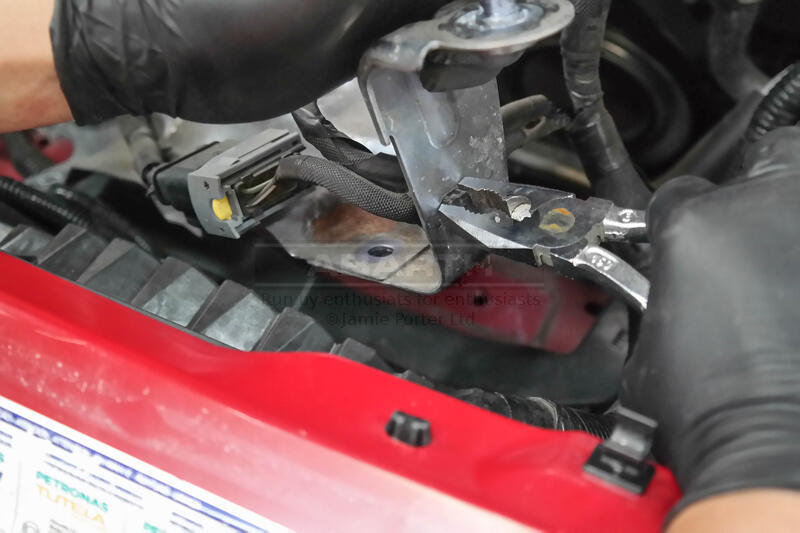
 | Unclip the wiring from the bracket bolted to the left facing top mount, there's another clip down towards the bulk head. |
|
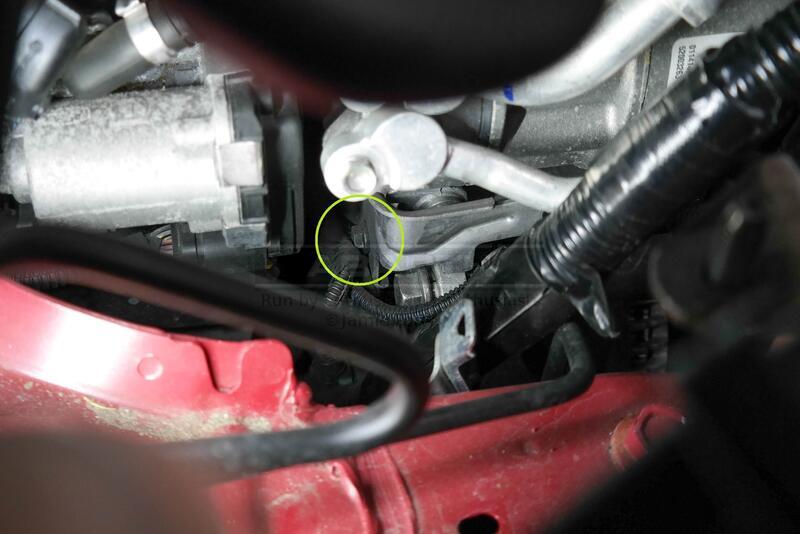 | Just below where the air conditioning pipes connect to the air compressor is a bracket that needs removing to expose a mounting bolt. |
|
 | Undo the x3 13mm bolts to the air compressor. |
|
 | Move the air compressor away from it's mounting point to gain access to a 15mm bolt that's still holding the alloy mount covering the cam belt tensioner. |
|
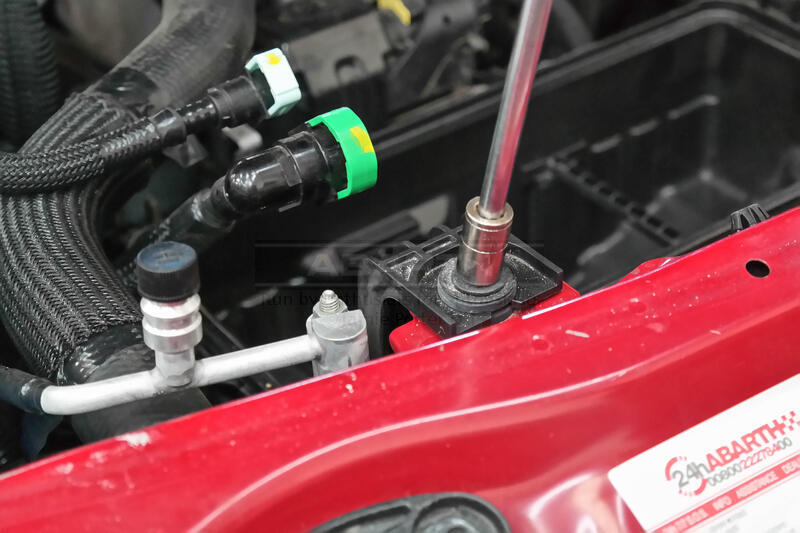
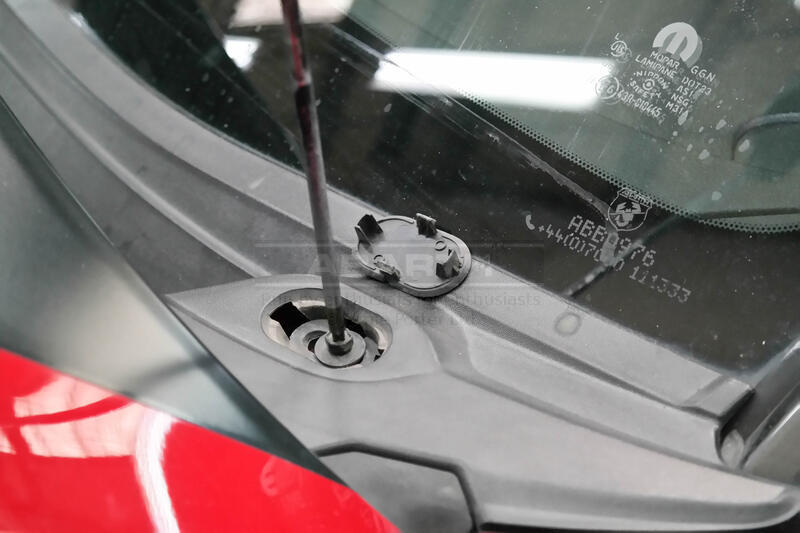
 | Remove the wiper arm mounting point covers and undo the 14mm nuts. |
|
 | Unclip the x10 clips to the scuttle weather seal. |
|
 | Unplug the washer pipe where it comes into the engine bay at the top right hand corner. |
|
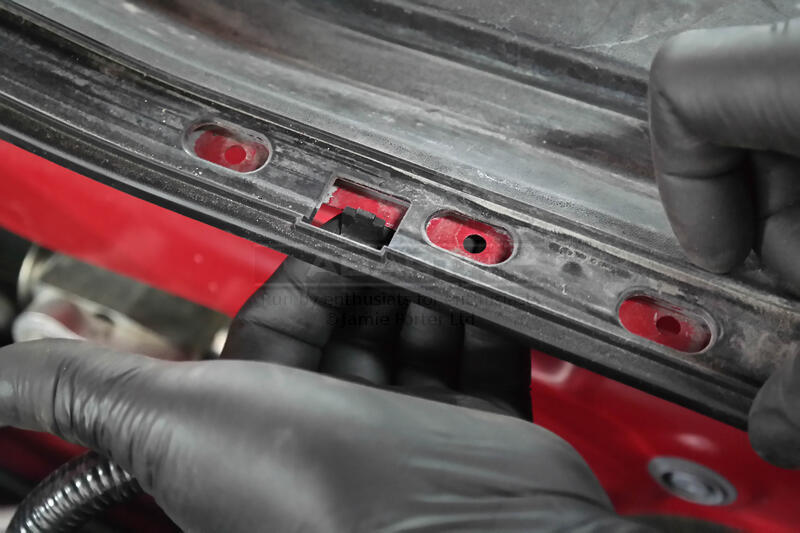 | Unclip the x4 spring clips to the front edge of the scuttle (x2 in the middle and x1 either end). |
|
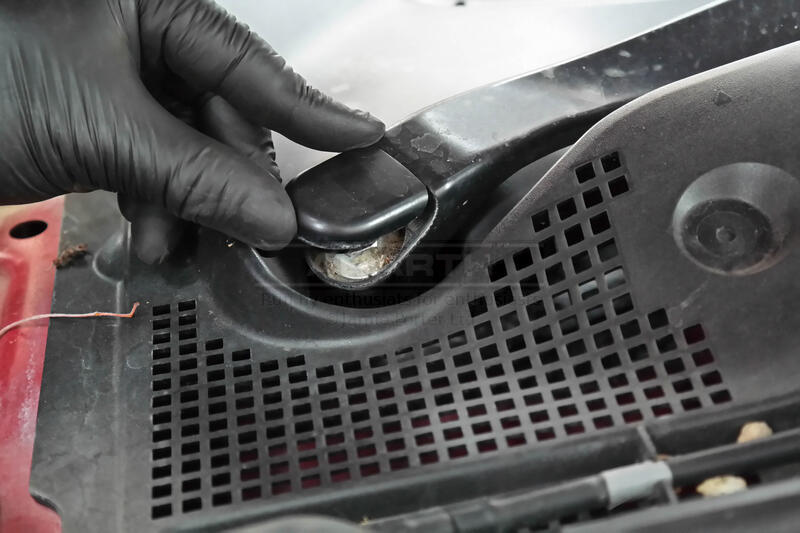
 | At the bottom of the 'A pillars' remove the scuttle caps with a plastic trim removal tool and undo the Phillips (M8) screws. |
|
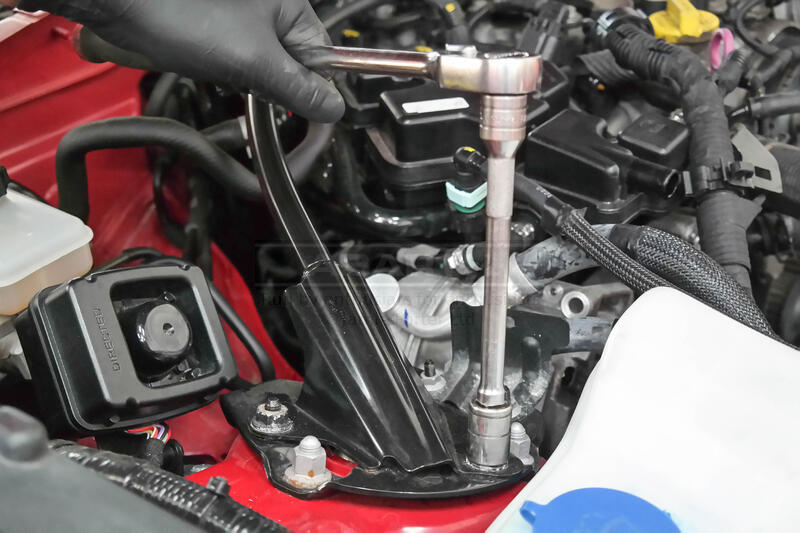 | Undo the 14mm nuts to the engine brace bar that's bolted to the top mounts (x2 per side). |
|
Related Links: Servicing | Service schedule